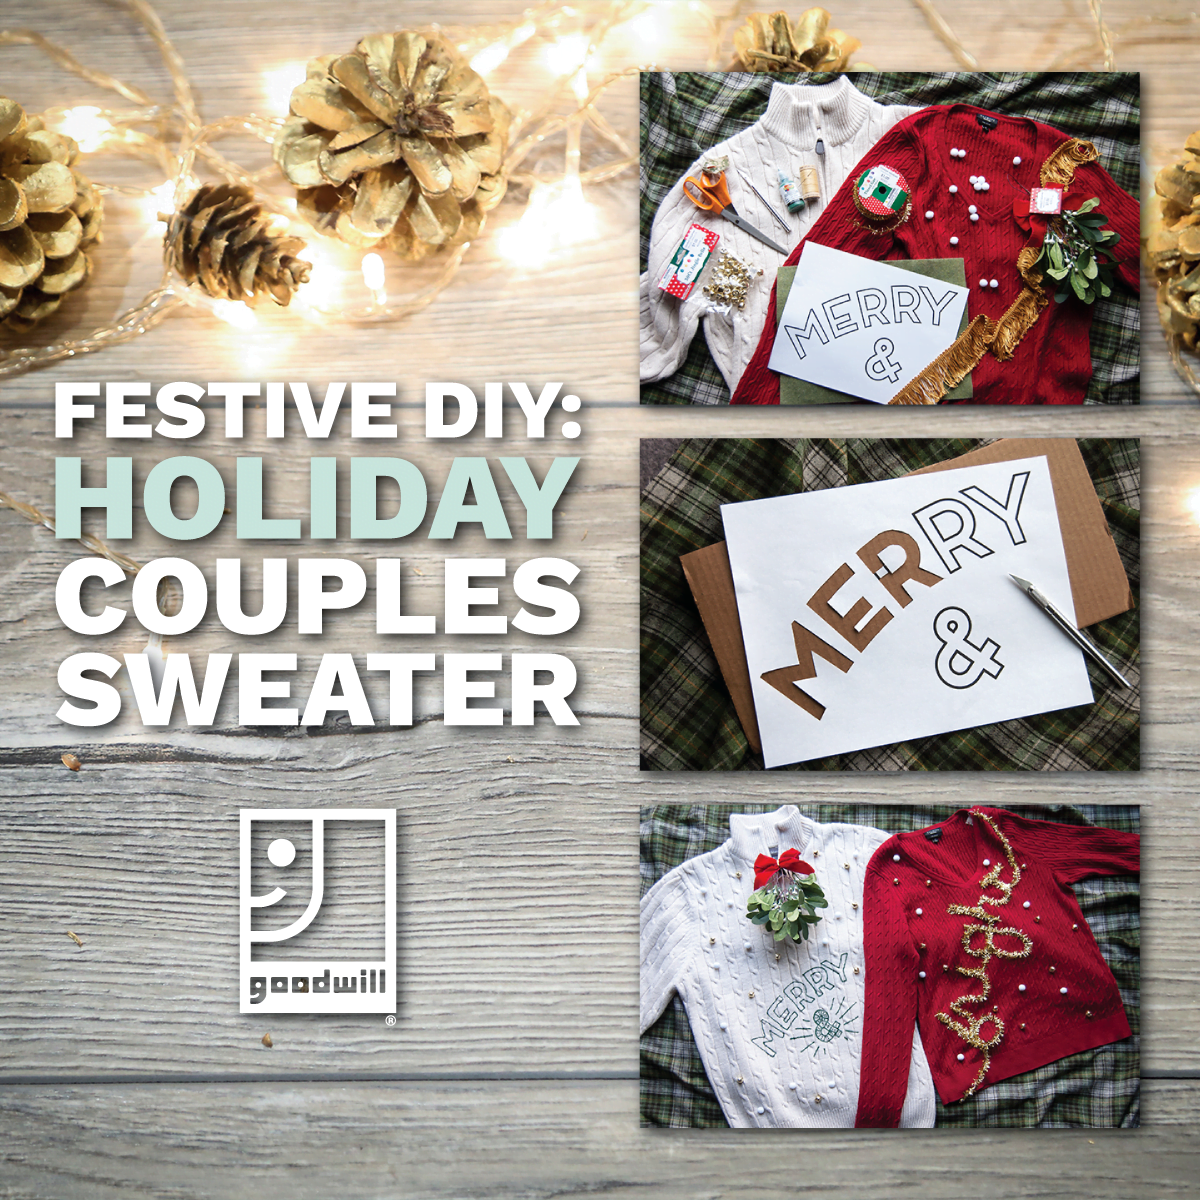
Festive DIY: Holiday Couples Sweater
Customize Your Own Holiday Couples Sweater
Festive holiday sweaters are tons of fun, but what’s even better than one sweater? Well… you
probably already guessed based on our blog title. So, grab your partner, best friend, roommate,
sister, whatever and work together to customize a look that’s twice as (naughty or) nice. Here’s
how!
Supplies:
– 2 sweaters or sweatshirts
– Cardstock
– Access to a printer
– Exacto blade
– Piece of cardboard
– Water-soluble marking pen
– Fabric paint
– Sewing needle
– Thread to match your sweaters
– Safety pins
– Straight sewing pins
– 2 strings of LED lights with wire inside
– Tinsel garland with wire inside
– 1 sheet of felt
– Scissors
– Embellishments such as pom poms, a mistletoe bundle, jingle bells, tassels
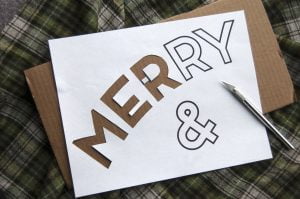
Step 1: Settle on a theme. There are so many two-part quintessential holiday phrases (Naughty
and nice, Holly Jolly, jingle bells, etc.) that you could really have some fun. As you can see, I
went with Merry & Bright. Once you’ve made your choice, head over to Goodwill to see what
you can thrift for supplies. Each local Goodwill organization uses donations, and the sales of
those donations, to fuel a social enterprise that provides job opportunities and funds other
important job placement and training programs to help people find jobs, earn paychecks and
build their careers. In this season of giving, I love that my purchases themselves give back!
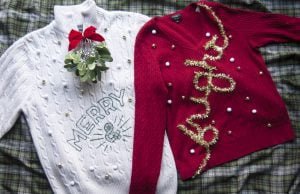
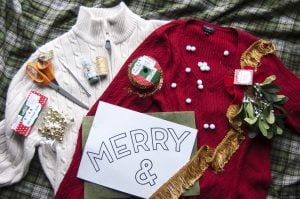
Step 2: Plan your layout. I set all of my pieces out before making any critical decisions so I can
envision the final product. This was important because it allowed me to realize how much space
each item takes so I can arrange them appropriately. Seeing how much space I had left on my
“merry” sweater allowed me to customize the text in an arch so it fills up more vertical space
than if it were just on one line. Feel free to download the template for these letters (add link to
merry.jpg) or try this template (add link to shapes.jpg) with some other common holiday images.
You could also make your own! Get adventurous!
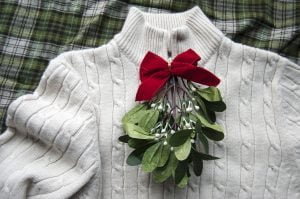
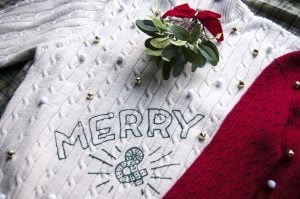
Step 3: Begin adding each element starting with the ones that take up the most space. For my
“Merry” sweater that was this mistletoe necktie which I twisty-tied to a zipper at the neckline.
Next came the text. Since I knew the fabric paint for this would take a while to dry, I made sure
to do it as soon as possible so I could work on other elements of the sweaters while it set. To
begin, I printed my template on cardstock then used an exacto knife to cut them out. Make sure
you put some cardboard under the template so you don’t damage your work surface. And for
any letters or images that have center holes (like my Rs and ampersand), leave a little tail that
connects the center to the rest of the template.

Step 4: Pin the template in place on the sweater and trace the letters with water-soluble
marking pen. Finalize the design with fabric paint then set aside to dry. Don’t worry if you mess
up while tracing—the marking pen will wash out!

The most exciting festive holiday sweaters, in my opinion, are the ones that are completely overthe-
top. So, for my “bright” sweater the letters took on a little more life. I took two strings of
LED lights and twisted them together with some tinsel garland. Both the garland and the lights
have wire inside so they stayed right where I put them. Make sure that the controls for the
lights are at both ends so you can hide them on the inside of the shirt. Keep in mind that
wherever they rest there will be a little extra weight. With thick sweaters like this, it shouldn’t
be very noticeable, but if you’re working with a lighter material it’s just something to keep in
mind. It took me a couple of tries to get the letters just right so take your time and have fun
with it!
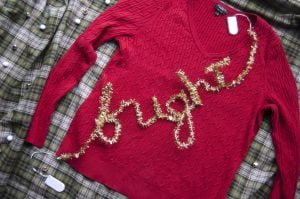
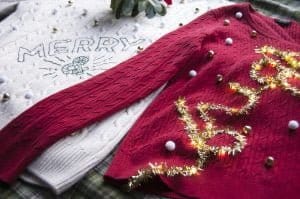
Step 5: Add the extras! With my red sweater lying flat, I used straight sewing pins to keep the
word “bright” in place while I hand-stitched it on with coordinating thread. After that was set, I
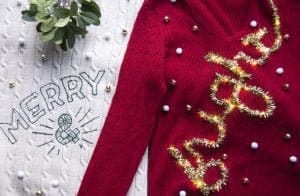
sprinkled jingle bells and tiny white pom poms (to mimic snow) on both sweaters and safety
pinned each embellishment in place from the inside. Then I turned the sweaters inside-out and
hand-stitched each pom pom/jingle bell in place. I feel like this common decoration brings the
two sweaters together and it definitely kicks their holiday cheer up a notch, too! No one will be
missing these sweaters!
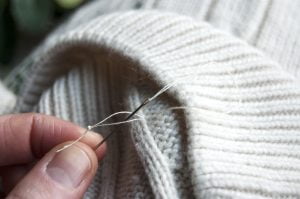
QUICK TIP: One trick that I find helpful when hand-sewing through a knitted piece is to send the
needle back through the knot on the first stitch so it hugs the yarn instead of slipping right
through the knit.
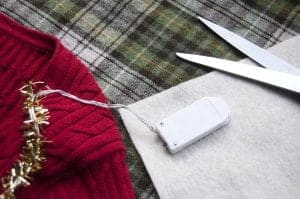
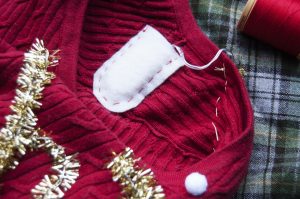
Step 6: Tie up any loose ends. For me, this meant the switches that turn on and off my lights. I
planned for them to rest on my shoulder and at my hip, in little felt pockets at the seams. The
pockets were super simple: I sat the control on top of a piece of felt and cut around it with
enough room for a seam allowance.
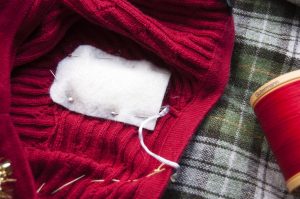
Then I took the pocket and placed it inside the shirt where it was comfortable for the control
box to rest. I pinned these in place then hand-stitched them shut using a thread that was the
same color as my shirt.
With everything in place, I was eager to see how the two sweaters looked together. I love that
the red in the mistletoe bow matches the red of “bright” sweater while the white pom poms on
that pull in the white of the “merry” sweater. Their cable-knit fabrics even match so I feel like
maybe these two sweaters were destined to be a pair from the beginning.
So, there you go! A custom couples’ sweater set for your dream duo. Have tons of fun thrifting and crafting together (date night, anyone?) and warm holiday season.